Photoshop introduction
What
is photoshop? Photoshop is a divine art and it is an image or graphics
edition program created by Adobe. It’s
used for editing images and creation graphics in a user friendly environment
within many Operation Systems such as Windows and Mac OS X. It’s used by millions of graphic designers,
image editors, image composers, artists, print designers, and standard computer
users. It’s used so commonly that it’s
most likely most images you see. Whether
in books, magazines, newspapers, posters has been either edited or created in Photoshop.
Photoshop is the most powerful image editing
software available today used by photographers and graphic artists for image
enhancement and editing, print and web design, and digital art.
Goals of Photoshop
Understanding what Photoshop does, Selecting
and moving images, Viewing and arranging layers, Using image filters, Basic
color painting, Image color correction and touch-up, File saving.
Basic Photoshop’s Tools Panels
Move
Tool, Selection Tools, Crop Tools, Eyedropper Tool, Retouching and Painting Tools,
Brush Tool, Clone Stamp Tools, History Brush Tools, Eraser Tools, Gradient
Tool, Blur Tool, Burn Tool, Sponge Tool, Sharp Tool, Pen Tools, Text Tool, Path
Selection Tool, Shape Tools, Hand Tool, Zoom Tool, 3D and View Tools.
Here you are going to see some Basic tools of Photoshop:
The Move tool (V) is the black arrow at the top of the
Tools panel. You can use it to grab and move a selection, whole layers, and
guides.
The
Marquee tools (M) are
nestled just below the Move tool; they include the Rectangular, Elliptical,
Single Row, and Single Column Marquees. You’ll use the Rectangular Marquee the
most as it’s great for selecting square and rectangular areas. To use any of
these tools, just click and drag diagonally and Photoshop marks your selection
with an army of marching ants.
TIP: To cycle
through the different tools in a tool set, add the Shift Key to that group’s
Keyboard shortcut. For example, to
switch between the Rectangular and Elliptical Marquee tools, press Shift-M.
For example
After selecting with Rectangular Marquee Tool we can Move
that particular portion in an image using Move Tool, after using Move Tool the image will be.
The Lasso tools (L) let you draw selections by hand. They’re great for selecting irregular-shaped areas or objects that you
can’t get with the Marquee tools. To use the basic Lasso tool, click where you
want the selection to start and then drag to draw an outline around the rest of
the object. When you release your mouse button, Photoshop automatically adds a
straight line that connects the start and end points of the line you drew. The
Polygonal Lasso tool is handy for selecting objects with a lot of angles
because it draws only straight lines; you simply click when you want to change
directions. The Magnetic Lasso tries to guess what you want to
select as you hover your cursor over an object.
The Crop tool (C) lets you trim distracting elements from
the edges of your image, as well as change the size of your image. Simply use
it to draw a box around the part of the image you want to keep and then press Enter to delete everything outside the box.
For example
After Crop image will be shown
below.
The Eyedropper tool (I) lets you choose a color you want to use
as your foreground color chip. It looks like an eyedropper and it’s extremely
useful for picking colors for painting, creating new backgrounds and
color-correcting images.
The Healing Brush (J) lets you repair imperfections that aren’t round. This tool also looks like a Band-Aid and you can use it to
fix wrinkles, dark circles, and so on. You tell Photoshop what you want the
problem area to look like by Alt-clicking a good area
and then simply paint.
For
example
Click the Healing Brush Tool and rub the selection part
holding a mouse. Now the image will be like shown below.
The Brush tool
(B) lets
you paint with a variety of brushes; its icon looks like you guessed it a
little brush. Photoshop includes a ton of built-in brushes, but you can also
edit them and create your own.
The Clone Stamp
tool (S) whose
icon looks like an old-fashioned rubber stamp, works a little differently than
the healing tool. Instead of blending pixels together, it copies part of an
image to another spot.
For example
Now
you going to Clone the chair in next to the present chair:
1)
Take the Clone Stamp Tool and do Alt-clicking in which part of
image(Chair) you have to clone, just one click is enough.
2)
Just rub the pointer in
which part you have to place the image(Chair).
3)
Now the image will be shown below.
The History Brush (Y) is like a time machine because it lets
you paint over parts of your image to reveal a previous version of your work.
The Art History Brush (Y) lets you add bizarre effects to
your image by painting to expose a previous state, but with an extra twist:
Instead of simply revealing what was there before, it applies effects so the
image looks rather impressionistic.
The Eraser tool
(E) lets
you paint to erase parts of your image. Its icon looks like the pink erasers
you used in elementary school and it works nearly the same way: Grab it from
the Tools panel and select a mode from the Options bar (Brush, Pencil, or Block
mode), and then drag across your image to erase pixels in that area. Erasing on
a layer removes pixels from just that layer, while erasing on the Background
layer replaces those pixels with your
background
color.
The Paint Bucket
tool (G) fills
areas with solid color. It’s the tool equivalent of the Edit-->Fill command. It uses whatever color your foreground color
chip is, be sure to change that color before reaching for this tool.
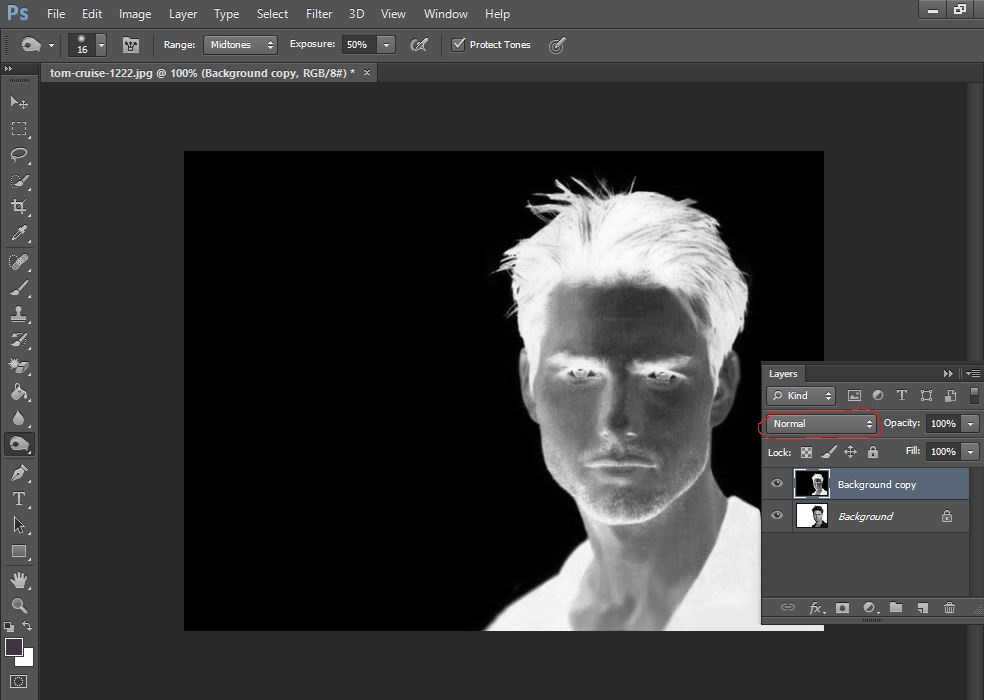
The Blur tool lets you paint
to make parts of your image look like they’re out of focus. Its icon looks like
a raindrop, perhaps because real water drops blur paint. Since it uses a brush
cursor, you can use the Options bar to set its size and hardness. (A harder
brush leaves more defined edges in its wake; a softer brush leaves more of a
blur.)
For
example
1)
You have to select the particular portion want to be
blur using The Quick Selection Tool
2)
Here you going blur the all eggs but not the
selected egg, for that Goto -->Select-->Inverse
3) Now the selection will be inverse then take the Blur
tool and paint all the selection
The Horizontal
and Vertical Type tools (T) let you add text to your image. As you
might suspect, the Horizontal Type tool creates text that runs left to right and
the Vertical Type tool creates text that runs top to bottom. You use the
Options bar to choose a typeface, point size, and so on.
For
example
1)
Click on The Text Tool and drag the portion you want
to text in the image
2) Using Free Transformation Ctrl + T you can transform the text like
translation, scaling, rotating.
3) Then hit Enter, now the image will be shown
below.
The Rotate View
tool (R) lets
you rotate your view of an image to give you a more natural angle for
painting or drawing—without rotating the image itself in the document. Its icon
looks like a hand in front of a diamond shape; you can find it in the Hand
tool set.
The Zoom tool
(Z), whose
icon looks like a magnifying glass, lets you zoom into take a closer look at
what you’re editing. When you grab this tool and then click your image, you can
keep zooming until you reach 3,200 percent magnification; Alt+click to zoom out.